
Early access · Release date: November 13, 2026
UpdatedZombies Aren't Real: How to Build Safe Zones That Hold
Learn how to build safe zones in Zombies Aren't Real: compact walls, gates, Broadcast buildings, garrisons, and fallback zones that keep civilians alive.
Jump to
How Safe Zones Work
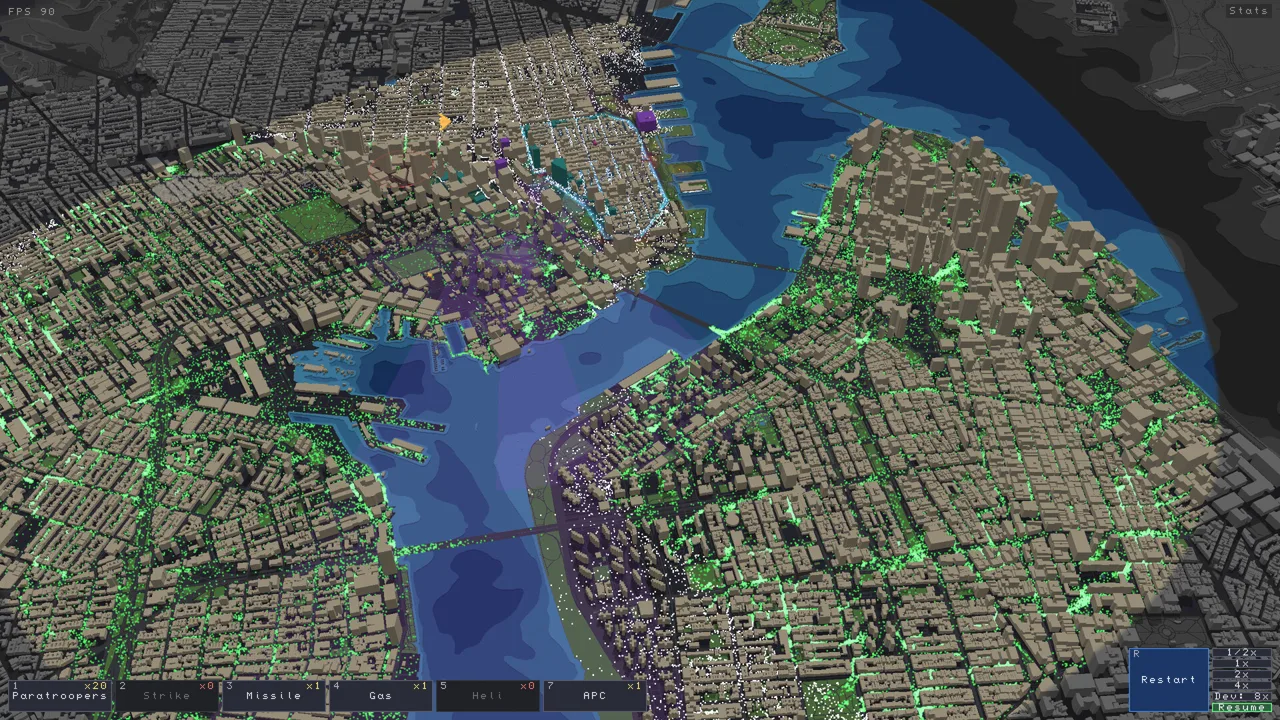
Most levels are won or lost before the first zombie appears. If you came here looking for Zombies Aren't Real how to build safe zones that actually hold, start with the rules underneath them. A safe zone is a walled area that protects the civilians inside it until zombies break through a wall. Zombies never spawn inside one, though they can spawn right outside its gates.
The zone also keeps your guns running. Units inside an intact zone get unlimited reloads. Turrets are the exception. Once zombies breach the wall, units inside lose that perk. Units placed outside any zone work differently:
- They get a limited number of reloads.
- They cost more.
- They wait 12 seconds before their first shot.
What a Safe Zone Costs
Most of the cost comes from the wall, not the ground inside it. Each zone has a $100 start fee, and the perimeter costs 75 cents for every 2 m of length. On one early Boston layout covering 30% of the map, the enclosed land cost only $278. Nearly everything else was perimeter plus the start fee.
That has two big consequences:
- Round, compact shapes give you the most area for the least wall. Long, snaking boundaries get expensive fast.
- Every wall has the same hit points no matter how long it is. A huge perimeter is weaker because zombies can hit it from more directions, yet it has no extra health.
Coverage is capped too. On the opening Boston map, a zone can't cover more than 30% of the map, and the game won't let you start if you go over. Each level also limits how many safe zones you can place. That early map allowed seven. You can upgrade a zone to raise its wall HP, but a bigger, upgraded zone costs more to expand later.
Drawing and Editing a Safe Zone
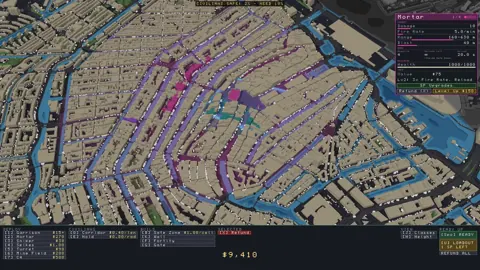
Select the Safe Zone tool and left-click to drop corners around the buildings and civilians you want to protect. Press Enter to close the shape. Zones stay fully editable after you place them. Drag any corner to reshape the zone and watch the price update live. Right-click a wall to add a corner, or right-click a corner to remove it.
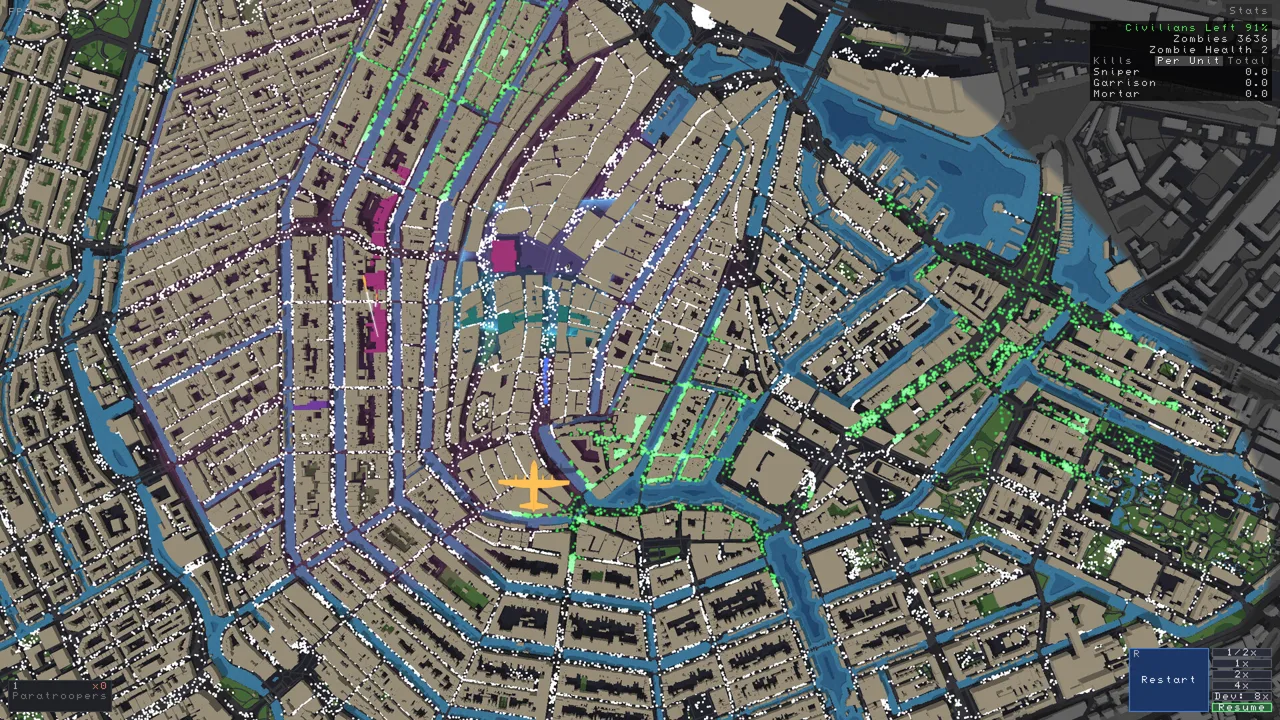 Image: Steam / Jogamedev
| Key | What it does |
|---|---|
| Alt + middle mouse | Tilt the camera to check streets and building heights |
| V | Show building heights (darker blue is taller) |
| C | Show special buildings by class |
| G | Place a gate |
| 1 / 2 / 3 | Garrison / Mortar / Sniper |
| X | Refund a unit |
| Ctrl + Z | Undo |
| Tab | Open the Loadout |
| Space | Start or pause the battle |
Press C before you draw anything. Special buildings only count if they sit inside the zone, so bend your corners to pull the useful ones in. Then press V to find tall roofs for mortars and snipers.
When a level expands and your old layout no longer fits, use Refund All. It wipes everything you built and returns the full cost.
Gates, Broadcast, and Getting Civilians Inside
A zone without gates is sealed. Civilians outside can't get in, even with a horde on their heels. Gates also give the people inside a way out if the wall falls. Place gates on main roads, at the ends of bridges, and on every side civilians will come from.
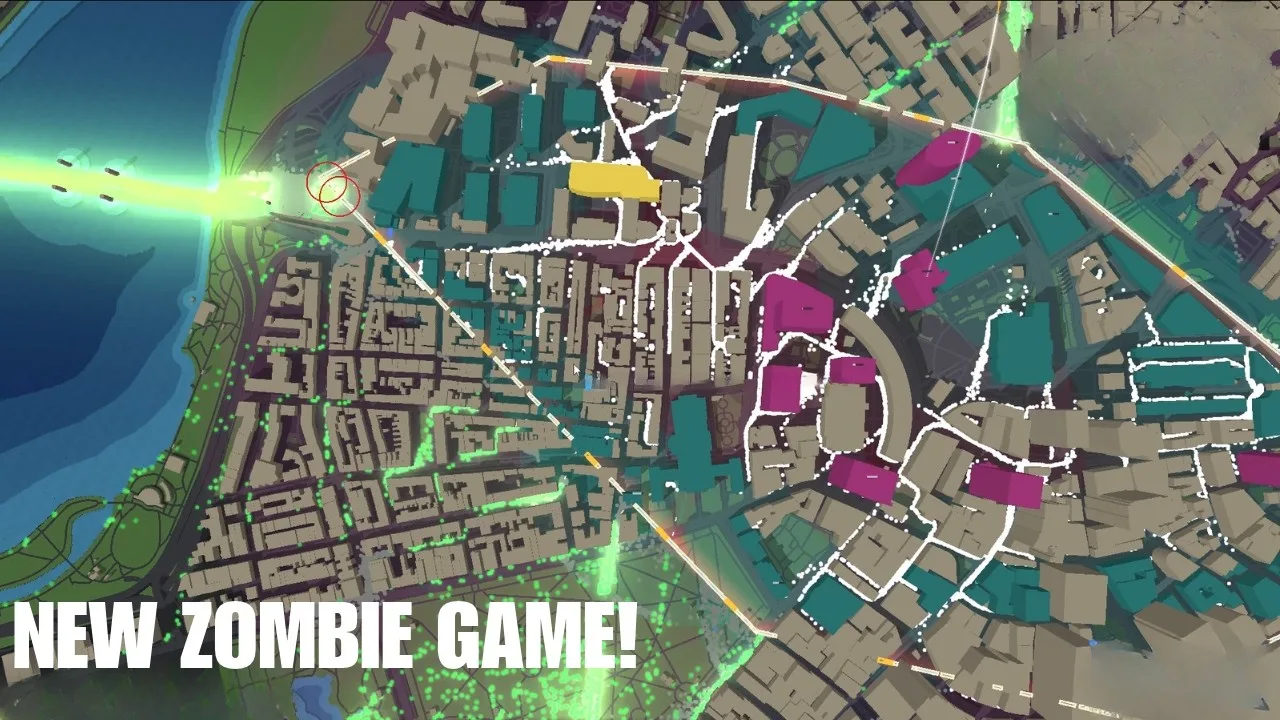
The November 16, 2026 update (v0.43.1) made civilians noticeably smarter about gates:
- Panicked civilians head for a safe zone's gate from farther away and won't run back toward zombies to reach one.
- Calm civilians close to a gate now walk in on their own.
- A fleeing civilian blocked by a building or wall turns toward the nearest gate.
- Civilians who sense danger walk away from it before they panic.
Broadcast Is Your Best Filler
A civic building set to Broadcast calls civilians within its radius to run into the zone. That can let you skip evac corridors entirely and put the savings into guns. Broadcast still needs gates, so cover the directions people will be running from.
Corridors and Holds
Evac corridors fill the gaps that no Broadcast circle reaches. Since v0.43.1, corridors lead civilians along the streets around buildings to the corridor's end, and through a gate if one stands there. They are now priced by area: a $30 start fee plus the ground they cover. At the default width, a 300 m corridor dropped from $120 to about $60, and a 1 km corridor dropped from $400 to about $135. Evac holds got more expensive in the same patch.
End a corridor just inside a Broadcast radius so civilians run the rest of the way in.
Watch Your Bridges
Civilians can struggle to cross some bridges, even with gates and Broadcast in place. If a crowd stalls, move the gate to the end of the bridge on the zone's own landmass. Check the bridge for "buildings" as well. Some suspension bridges treat their pylons as buildings, and those pylons block the path.
Special Buildings to Pull Inside Your Walls
Special buildings shape the whole zone, so build your boundary around them.
| Class | Ability | Effect |
|---|---|---|
| Civic | Police | Spawns an officer every 2 seconds, up to 100 guarding the zone |
| Civic | Militia | On a breach, 35% of civilians in range take up arms |
| Civic | Broadcast | Calls civilians in range to run into the zone |
| Civic | Radio Tower | Units on buildings in range reach 50% farther; an overlapping second tower adds 25% |
| Trade | Budget | Units placed in range cost 20% less |
| Trade | Reduced Cost | The unit on this building costs 60% less |
| Trade | Repair | Walls in range heal 40 HP per second |
| Armory | Supply | Guns in range reload faster |
| Armory | Command Post | Guns in range fire faster |
| Rescue | Medic | Officers in range survive their first bite |
| Rescue | Airlift | Flies civilians out of the zone over time |
Militia civilians no longer count as saved. Keep Militia for zones you expect to lose. Shape any Repair zone so the whole wall sits inside the repair radius.
Defending the Wall: Where Each Unit Goes
Most breaches happen on a stretch of wall that no garrison can shoot at. A wall pushed out across a park or open lot is the classic weak spot. Click a garrison to see its range, then drag the wall in until it hugs your defended buildings. If a section has no building nearby, cut it out of the zone.
| Unit | Placement | Key numbers |
|---|---|---|
| Garrison (1) | Buildings along the wall | 5 damage per shot; bigger buildings add range and cost, not firepower; a level up grows the magazine (180 to 540) |
| Mortar (2) | Tallest roofs (check with V) | Area damage of 10, or 30 after a level up; each mortar raises the next one's price by $1 |
| Sniper (3) | Tall buildings aimed down roads and bridges | 80 damage, very long range; shoots mutated zombies first; hold left mouse and drag to aim |
| Turret | Bridges and street choke points | Very fast fire; never reloads, even inside a zone |
Garrisons
Garrison size is a trade-off between reach and money. In one Boston example, a tiny building cost 35 to garrison and a large one cost 156. Both deal the same damage, but the large one covers far more ground. Fill the perimeter with cheap small buildings where they overlap, and buy big ones where you need reach.
Garrisons stop one-shotting zombies once zombie health rises past 5. Back them with snipers and mortars on longer battles.
Mortars and Explosives Near Gates
Since v0.43.1, mortars of every kind, the battleship, tank, helicopter, mines, burning oil, and the Exploding Officers perk no longer kill civilians or damage safe zone walls. Attacks you aim yourself still do. That includes airstrikes, fire bombs, cluster bombs, cruise missiles, the AC-130, nukes, Controlled Demolition, and C4. Keep those away from crowds at your gates and from your own walls.
The Compact Surgical Build
Pick a tight block that holds tall buildings and a couple of special buildings, and wall only that.
- Press C and find civic buildings. Set one to Police or Broadcast.
- Press V and buy a mortar on the tallest roof inside the zone. A higher mortar reaches noticeably farther.
- Garrison the large buildings with good radius along each side. You need fewer garrisons than you think.
- Level up the garrisons and the mortar before buying more units.
- Add a gate on every side. With Broadcast pulling people in, you may not need any corridors.
- Put snipers on tall buildings facing the streets the horde will use, angled down your corridors if you have them.
Small zones are cheap to upgrade, which is the real payoff. Use the savings to swap a weak Police station for a Radio Tower. Its 50% range boost can push garrisons, snipers, and mortars several street rows farther out. Keep one Helicopter or Paratrooper drop in reserve for the side that starts cracking.
The Wide Coverage "Crab" Build
On small early maps, you can flip the idea around. Instead of a fortress, draw a roughly circular zone that puts gun coverage over as much of the spawn area as possible. That way zombies die before they can infect anyone. On the first Boston map, this approach saved 91% of the population.
- Push the zone right up to the coverage cap (30% on that map).
- Garrison big buildings around the edge for maximum reach. On an early map, garrison damage is rarely the problem; reach is.
- Put a few garrisons just outside the wall facing likely spawns. They only get limited reloads out there, but a 180-round magazine lasts a while early on.
- Open with Paratroopers dropped around each outbreak to contain it.
This build relies on killing fast, not on civilians running to safety. Its wall is weak for its length, since walls have the same hit points regardless of perimeter.
Nested, Bait, and Island Zones
Nested Zones
Put a small safe zone inside a larger one, with gates between them. When the outer wall breaks, civilians flee to the inner zone, and units there keep their unlimited reloads. Keep the inner zone away from the outer wall so one breach can't crack both. Pair it with Broadcast on the outer ring and Militia inside for a counterattack if things go wrong.
The pathing has limits. Civilians in an inner area can still run out through a breached outer wall, so don't count on the inner ring alone.
Bait and Evacuation Zones
A bait zone is a cheap, small zone you expect to lose. It gathers civilians and slows the horde before it reaches your main base. Build one around a Rescue building with Airlift and add Broadcast so everyone runs there. The airlift then flies people out, so a late collapse costs you little. Add Repair on the walls to buy the airlift more time. Militia also fits a forward zone you plan to sacrifice.
Island and Bridge Zones
When a level opens up islands, wall them in and turn the bridges into kill zones:
- Drop a plain wall (no safe zone) across the bridge in front of your main wall. Plain walls are very cheap to upgrade, so zombies stall there under fire.
- Put turrets and snipers set to Nearest First covering the bridge.
- Set the bridge on fire with a Firebomb. Every zombie has to walk the full length through the flames.
- Break bridges you don't want to defend. Stack all six Air Strike bombs with a single click, and add C4 or mortar fire. One spread-out strike won't do it.
Keep a few guns on waterfront walls too, since Swimmer mutants can cross water. Since v0.43.1, zombies stranded behind destroyed bridges no longer block victory. If they can't reach your zones, the game ends in a win after 60 seconds.
Expect to restart a lot. Almost any change to your setup, even moving one gate, reshuffles the zombie spawns. So rebuild the weak side, reroll a bad spawn, and try again. If you haven't picked it up yet, Zombies Aren't Real is in Early Access on Windows via its Steam store page.
Continue with
 Zombies Aren't Real Level 5 Guide: How to Beat BostonStuck on Zombies Aren't Real level 5? Learn how to rebuild your safe zones, lock down bridges, and time fire bombs to finally clear Boston's fifth stage.
More in Guide
Zombies Aren't Real Beginner Tips: Win Your First Cities
Zombies Aren't Real beginner tips for safe zones, broadcast towers, snipers, mortars and airstrikes. Learn setups that save more civilians in each city.
Zombies Aren't Real Chokepoints: Bridges, Z Walls & Turrets
Master Zombies Aren't Real chokepoints with Z walls, turrets, island safe zones and bridge demolition. Learn how to stall the horde and starve it out.
Zombies Aren't Real Controls: Hotkeys and Tools Explained
Master Zombies Aren't Real controls with every hotkey, safe zone edit, corridor trick and battle ability input. Plan faster and save more civilians today.
Join the community
Official channels for news, updates and player help: