
Early access · Release date: November 13, 2026
UpdatedZombies Aren't Real Beginner Tips: Win Your First Cities
Zombies Aren't Real beginner tips for safe zones, broadcast towers, snipers, mortars and airstrikes. Learn setups that save more civilians in each city.
How a Run Works (and Why Losing Is Part of the Plan)
Your first outbreak will probably go sideways fast. The horde spreads quickly across a real-world city, and one weak wall can wipe out a safe zone you spent your whole budget on. These Zombies Aren't Real beginner tips cover the setups, unit choices and battle abilities that get you through the early campaign and the bigger maps that follow.
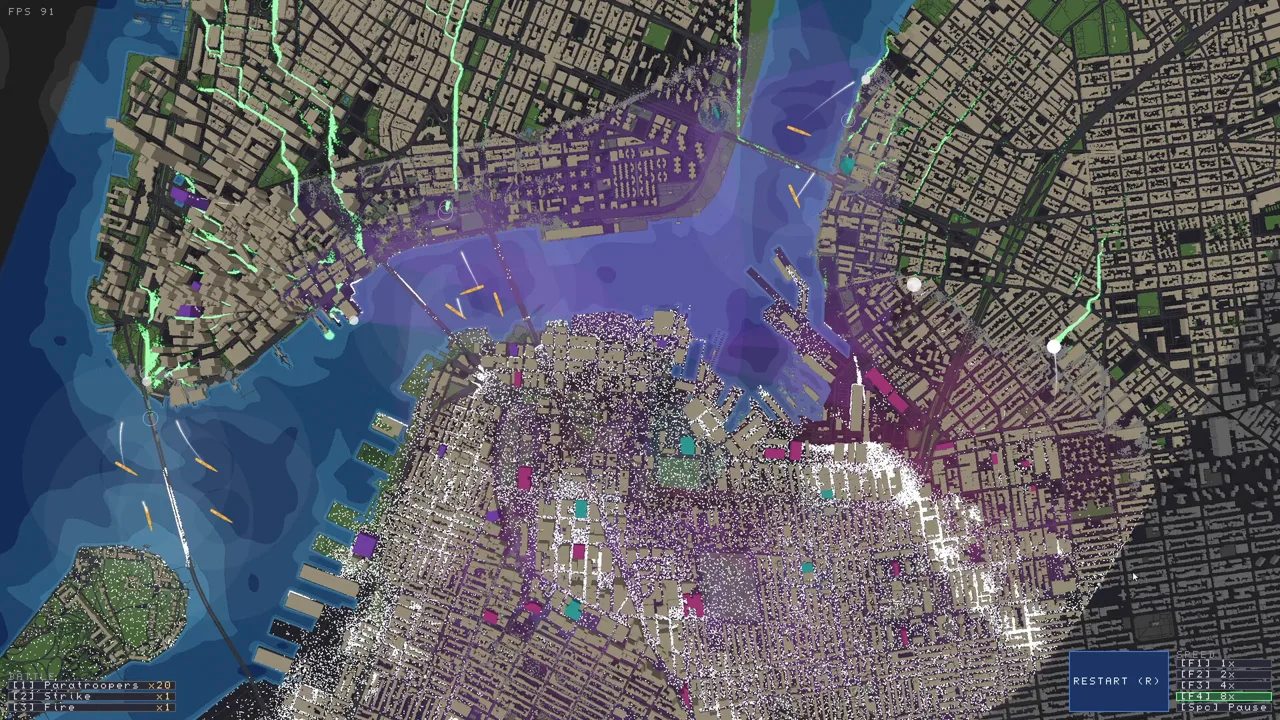
Every scenario has two phases. During planning, you get a bird's eye view of the city and a budget to spend on safe zones, walls, gates and units. When you hit ready, the outbreak starts. Zombies fan out and infect civilians, but you can still call in battle abilities and adjust speed. Your score depends on how many civilians you save, and each scenario sets a minimum percentage you need to pass. Your badge improves the more people you save. Since Update #1 (v0.43.1), zombies stranded where they can't reach your safe zones, such as after bridges are destroyed, no longer block victory. After 60 seconds, the game ends in victory.
When you win, the map expands. The next scenario contains the previous one, but with far more civilians and zombies. By the late campaign you are defending all of Manhattan, with over 500,000 civilians.
The game is built around restarting. When defeat looks certain, restart, look at the red flags that mark where walls were breached, and patch the gap. Since Update #1, restarting a battle with RETRY rules out the Flawless achievement for that campaign. Clearing a scenario on your first attempt earns Beginner's Luck.
Essential Controls to Learn First
You'll use these constantly during planning:
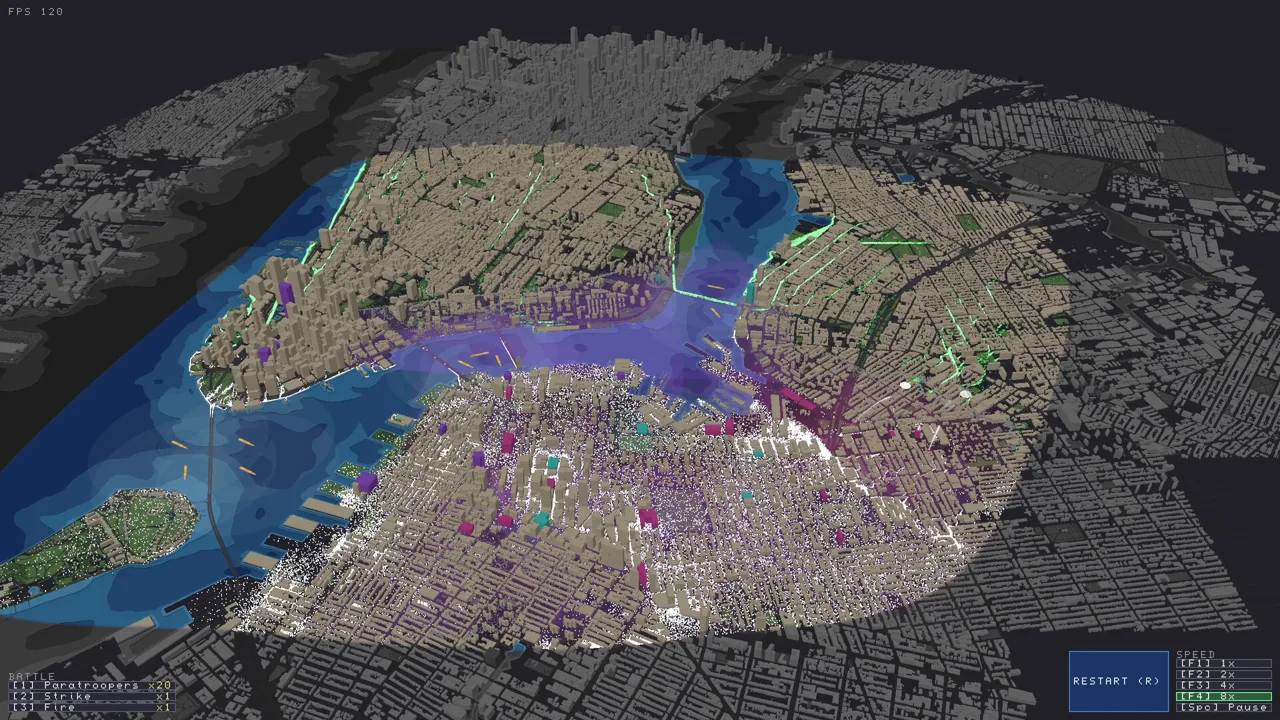 Image: Steam / Jogamedev
| Key / Input | What it does |
|---|---|
| C | Highlights special buildings you can bring into a safe zone |
| V | Shows building heights (darker blue = taller) |
| 2 / 3 | Mortar / sniper |
| Tab | Opens the loadout to spend skill points |
| Shift + F | Jumps to the next special building with no ability chosen |
| Right-click a safe zone edge | Adds a node (right-click it again to remove it) |
| Ctrl + Z | Undo |
| Click and drag | Paints units across several buildings at once |
Mouse thumb buttons (Mouse 4 / Mouse 5) can now be bound in the Keybind menu. The camera Rotate left and Rotate right controls have no key by default. Set them on the Controls tab if you want them.
Early Game: Planning Your Safe Zone
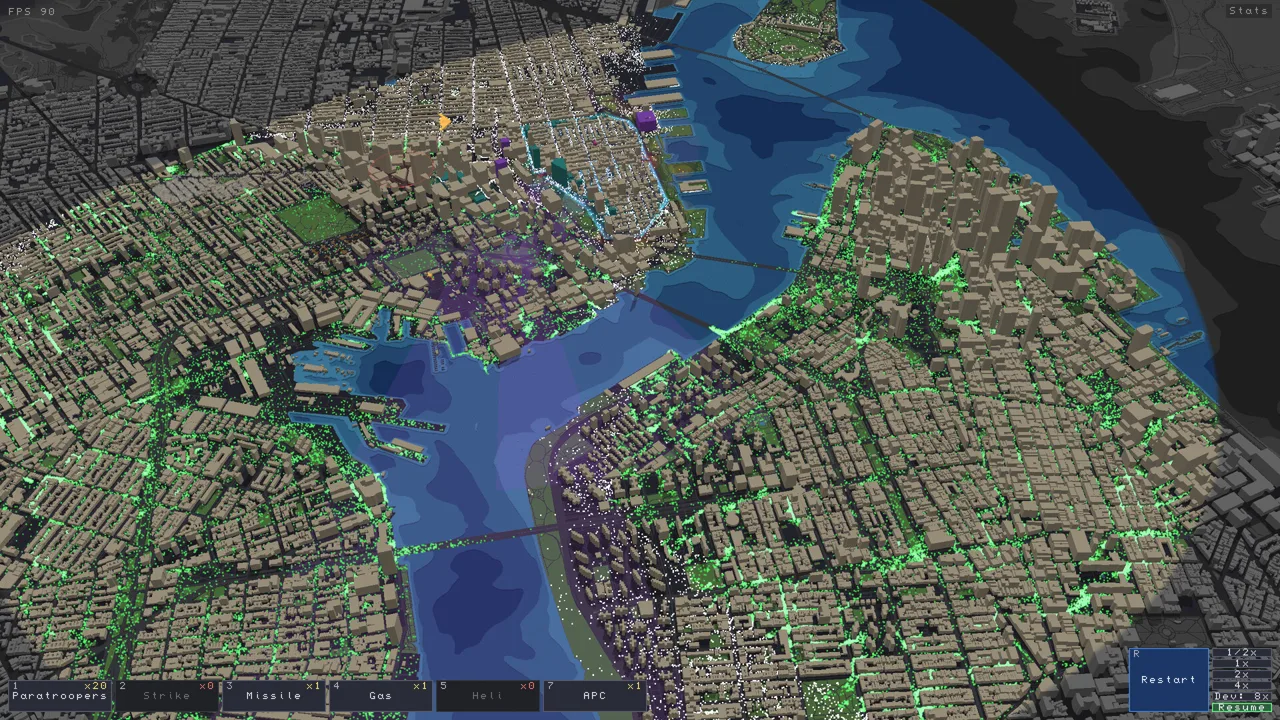 Image: Steam / Jogamedev
- Think small. Compact safe zones cost less to build and upgrade. That leaves money for firepower. Huge zones spread your garrisons thin and leave gaps along long walls. You can always expand a zone later, but it costs more once you've upgraded it.
- Always add gates. Civilians can't get inside without them, and a broadcast building won't pull anyone in through a gateless wall. Put a gate on every side you can, because panicked civilians bounce along walls until they find one.
- Use the protection that comes with the walls. Garrisons inside a safe zone reload endlessly. Units placed outside a zone get a limited number of reloads.
- Build walls into buildings. Using existing buildings as part of your perimeter creates bottlenecks, and zombies get confused bouncing off them.
- Drag safe zone corners after placing them. The cost updates in real time, so you can tuck a special building inside or trim an expensive corner.
- Upgrade the zone itself only when you have spare money. Upgrades raise wall HP. Don't sink so much into wall health that you can't afford guns, though. Walls alone won't hold.
- Plan a second zone as a buffer. A secondary safe zone splits the horde so your main base doesn't face everything at once.
Special Buildings: Your Biggest Advantage
Press C before you place anything. Special buildings inside a safe zone unlock abilities, and picking the right ones often matters more than raw unit count.
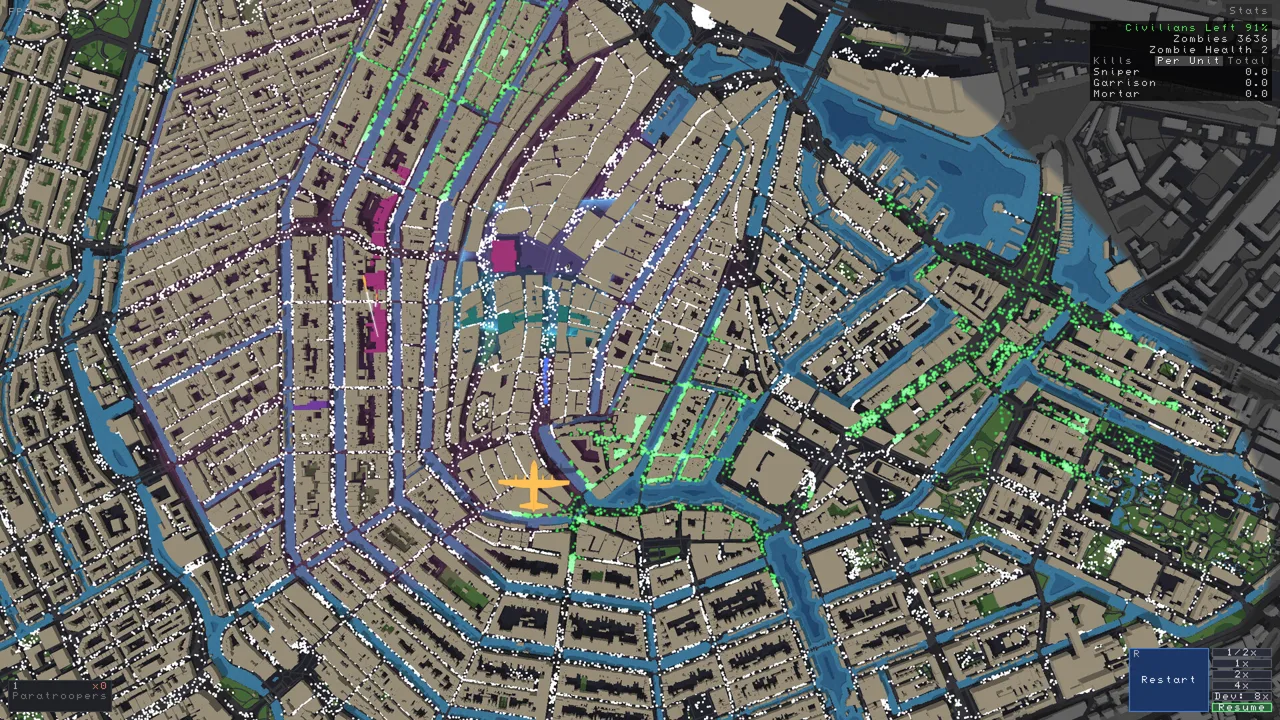 Image: Steam / Jogamedev
| Building type | Ability | Effect |
|---|---|---|
| Civic | Police | Spawns an officer every 2 seconds (100 max) to guard the zone |
| Civic | Militia | On a breach, 35% of civilians in its radius take up arms |
| Civic | Broadcast | Calls civilians in its radius into the zone at a run (90% of zombie speed) |
| Civic | Radio tower | Units and buildings in range reach 50% farther (25% for each overlapping tower) |
| Trade | Budget | Units in its influence cost 20% less; a unit placed on it costs 60% less |
| Trade | Repair | Walls in its influence heal 40 HP per second |
| Rescue | Evac | Takes civilians in its radius out of the zone on a steady timer |
| Rescue | Medic | Officers in its radius survive their first bite |
| Armory | Supply | Guns never have to reload |
Tips for using them:
- Take Broadcast early. It replaces corridors in the opening and gets civilians moving toward your gates on their own.
- Pair Broadcast with Militia. Broadcast packs the zone with people. If the walls fall, Militia turns that crowd into a counterattack. Some players build a zone like this as a deliberate trap that holds the horde in place.
- Switch police officers to pursue. They start on guard. On pursue they go out and hunt.
- Pick Repair on zones meant to evacuate. If a rescue building is pulling people out, healing walls buy the time it needs.
- Use rescue buildings for outposts you expect to lose. If civilians are being evacuated steadily, it matters less when that zone eventually falls.
Choosing Your Defenses
Garrisons
Garrisons are your reliable baseline.
- A bigger building gives a bigger radius but no extra firepower, and it costs more. Small buildings give the same firepower for less money, just with shorter reach.
- Leveling garrisons adds magazines, which means fewer pauses to reload.
- Garrisons deal 5 damage per shot. Zombie health climbs as a battle drags on, so garrisons fall off in long fights.
Snipers
Snipers hit harder than garrisons, so they keep holding the line as zombies get stronger in long battles. They have huge range and prioritize mutated zombies first.
- Place them on tall buildings, since height adds range.
- Hold left-click and drag to angle them.
- Set them to target farthest first.
- Upgrade them to push their range much farther, enough to cover a distant bridge.
Mortars
Mortars fire slowly, but their explosions shred clumped zombies.
- Press V and put them on the tallest roofs for maximum range.
- Leveling a mortar raises its damage from 10 to 30.
- Each mortar you place raises the price of the next one.
- Place a few outside your walls to thin the horde before it arrives. They will run out of reloads eventually.
Turrets
Turrets fire much faster than garrisons but have a smaller range, and they never reload, inside a safe zone or out. Once a turret is empty, it's done. Use them to lock down a specific wall or gate, and position them to create bottlenecks.
Battle Abilities and the Loadout
Press Tab to spend skill points on battle abilities. You get more skill points as scenarios grow.
- Paratroopers fix bad starts. Each point adds 20 officers. Hold left-click and drag to paint where they land. Drop them across alleys and intersections to box an early outbreak in, rather than dropping them into the middle of it.
- Helicopters thin the herd. They have limited ammo and fly home to reload. Keep one in reserve for emergencies, because you can't predict which way a horde will break.
- Fire bombs scale with greenery. Fire spreads across parks, grass and trees, and zombies die walking through it. Burning a bridge is especially brutal, since the horde has to cross the whole fire.
- Airstrikes need lead time. They take a while to arrive, so aim where the cluster will be. Bridges have a ridiculous amount of health, and it takes more than a full airstrike to drop one, so plan for multiple strikes.
- APCs and battleships hit hard. APCs are powerful all-rounders. The battleship can only be deployed in water.
- Kill mutating clusters fast. Zombies gather in a vortex and mutate into giants, swimmers or explosive zombies. Hit them with a battle ability before the timer finishes.
Since Update #1, Call to Arms costs 1 skill point per level, down from 2. The Medivac now runs itself: it lifts off when full, drops riders at the nearest safe zone and returns. The Security Bus arrives sooner and picks people up from farther away.
What Changed in Update #1 (v0.43.1)
The November 16, 2026 patch changed several things beginners lean on:
- Friendly fire is narrower. Mortars of every kind, the battleship, the tank, the helicopter, mines, burning oil and the Exploding Officers perk no longer kill civilians or damage safe zone walls. Abilities you aim yourself still do, including airstrikes, fire bombs, cluster bombs, cruise missiles, the AC-130, nukes and C4. Aim those away from your people.
- Corridors are priced by area. Each corridor costs a $30 start fee plus the ground it covers, so a wider corridor costs more. At default width, a 300 m corridor dropped from $120 to about $60. Evac holds got more expensive.
- Civilians are smarter. They follow corridors around buildings and through gates. Calm civilians near a gate walk in on their own.
- Falling buildings can break bridges, and everyone on a collapsing bridge drowns.
- Mutators now only affect Free Play. Campaign runs always play as tuned and count for leaderboards and achievements.
Mistakes to Avoid
- Forgetting gates. Without them, civilians can't get in and won't answer a broadcast, so the zone stays empty.
- Judging units by per-unit kills. Per-unit numbers are averages, so a unit you field in large numbers can look weak per unit while its total kills are huge. Compare totals before you cut anything.
- Trying to save the whole city. On bigger maps, write off districts you can't hold. Concentrate on zones you can defend.
- Leaving one approach uncovered. A single wall with no turret or sniper support is where the breach happens.
- Trusting bridges for civilians. Some bridges don't generate as straight paths, and crowds can stall on them. If a zone across a bridge stays empty, move its gate toward the landmass side.
FAQ
Should I play on Fixed or Adaptive difficulty?
Adaptive adjusts to your skill level, while Fixed expects you to lose, rethink and retry. Choose Fixed if you enjoy refining a defense. Choose Adaptive if you want a smoother first campaign.
Can I play on Mac?
The game launched on Windows. A Mac beta is available: right-click the game in your Steam library, open Properties, go to Game Versions & Betas and choose "test-mac-version".
The game won't launch and shows error 0x11C7. What do I do?
It's a Windows code-signing block. Players got around it by turning off Smart App Control (Windows Security > App & browser control > Smart App Control > Off) or by updating Windows.
Can I play with a friend?
Yes. Online co-op supports one partner, and each player can only place gates in their own walls. Since Update #1, you can also play custom and Workshop maps with a partner who doesn't have them. Grab the game on the Zombies Aren't Real Steam store page.
Continue with
 Zombies Aren't Real Chokepoints: Bridges, Z Walls & TurretsMaster Zombies Aren't Real chokepoints with Z walls, turrets, island safe zones and bridge demolition. Learn how to stall the horde and starve it out.
More in Guide
Zombies Aren't Real Controls: Hotkeys and Tools Explained
Master Zombies Aren't Real controls with every hotkey, safe zone edit, corridor trick and battle ability input. Plan faster and save more civilians today.
Zombies Aren't Real: How to Build Safe Zones That Hold
Learn how to build safe zones in Zombies Aren't Real: compact walls, gates, Broadcast buildings, garrisons, and fallback zones that keep civilians alive.
Zombies Aren't Real Level 5 Guide: How to Beat Boston
Stuck on Zombies Aren't Real level 5? Learn how to rebuild your safe zones, lock down bridges, and time fire bombs to finally clear Boston's fifth stage.
Continue exploring
Join the community
Official channels for news, updates and player help: