
Early access · Release date: November 13, 2026
UpdatedZombies Aren't Real Miami Guide: How to Beat All 5 Levels
Beat all five levels of Zombies Aren't Real Miami with wall-and-paratrooper chokepoints, the police-station militia combo, and bridge defense tactics.
Jump to
How the Miami Campaign Plays
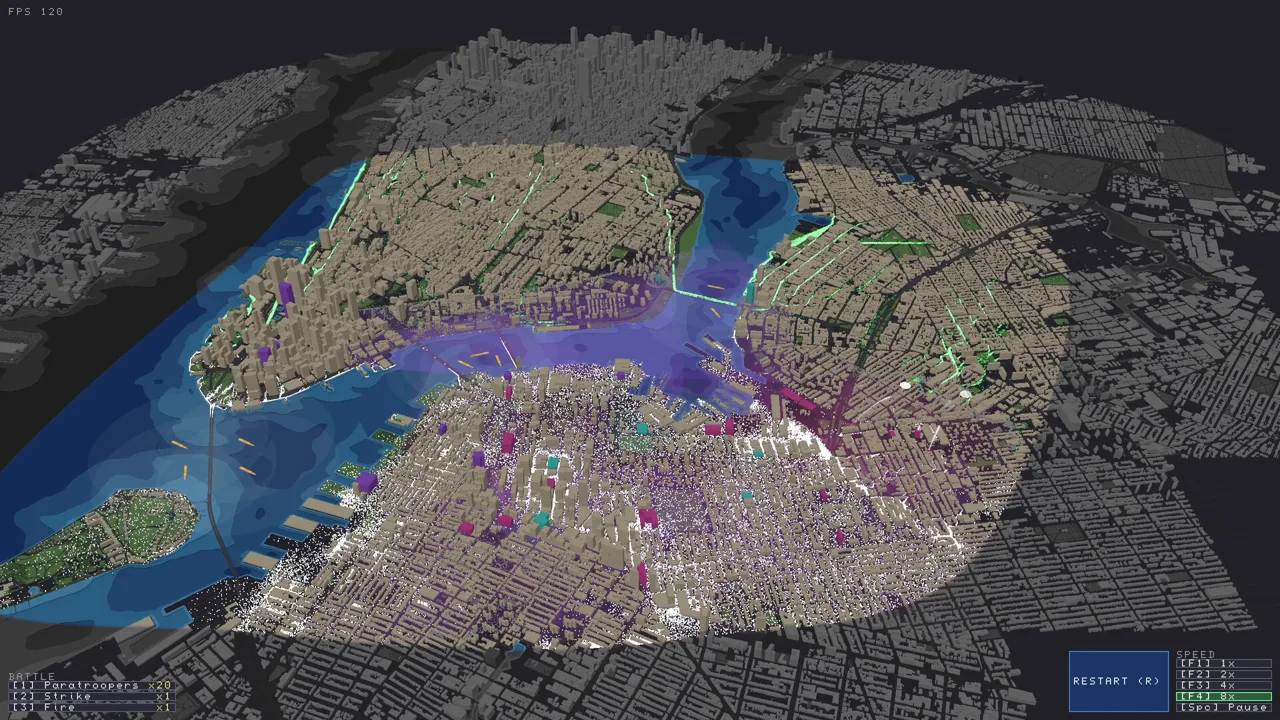
Miami is one of the two cities you can pick when you start the campaign, alongside Boston. This Zombies Aren't Real Miami guide walks you through all five levels. It covers the setups that hold, the mistakes that wreck a run, and the tactics that turn a 20% scrape into a high-badge clear.
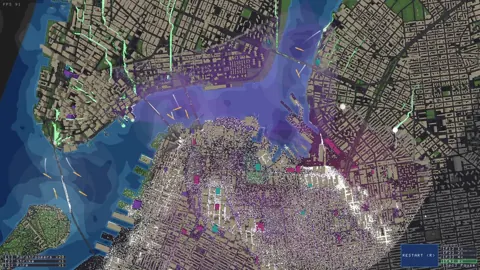
The campaign opens dead center in downtown Miami, with a couple of bridges to deal with. Each level widens the map:
- Level 1: Downtown plus a few bridges.
- Level 3: The map spreads out into the peninsulas and islands.
- Levels 4 and 5: Much more ground to cover, and far more of it than you can realistically save.
Water is the defining feature. Bridges are your chokepoints, islands are natural containment cells, and a spawn on the wrong side of the water can sink a plan before you unpause.
Your score is the share of civilians you save once every zombie is dead. You don't need the top badge to move on, so focus on passing first and polishing later. If you don't own the game yet, you can grab Zombies Aren't Real on Steam. It's a Windows Early Access release that launched November 13, 2026.
The Core Miami Toolkit: Walls, Paratroopers and Militia
Three tools carry this map. Learn them on level 1 and you'll lean on them all the way to level 5.
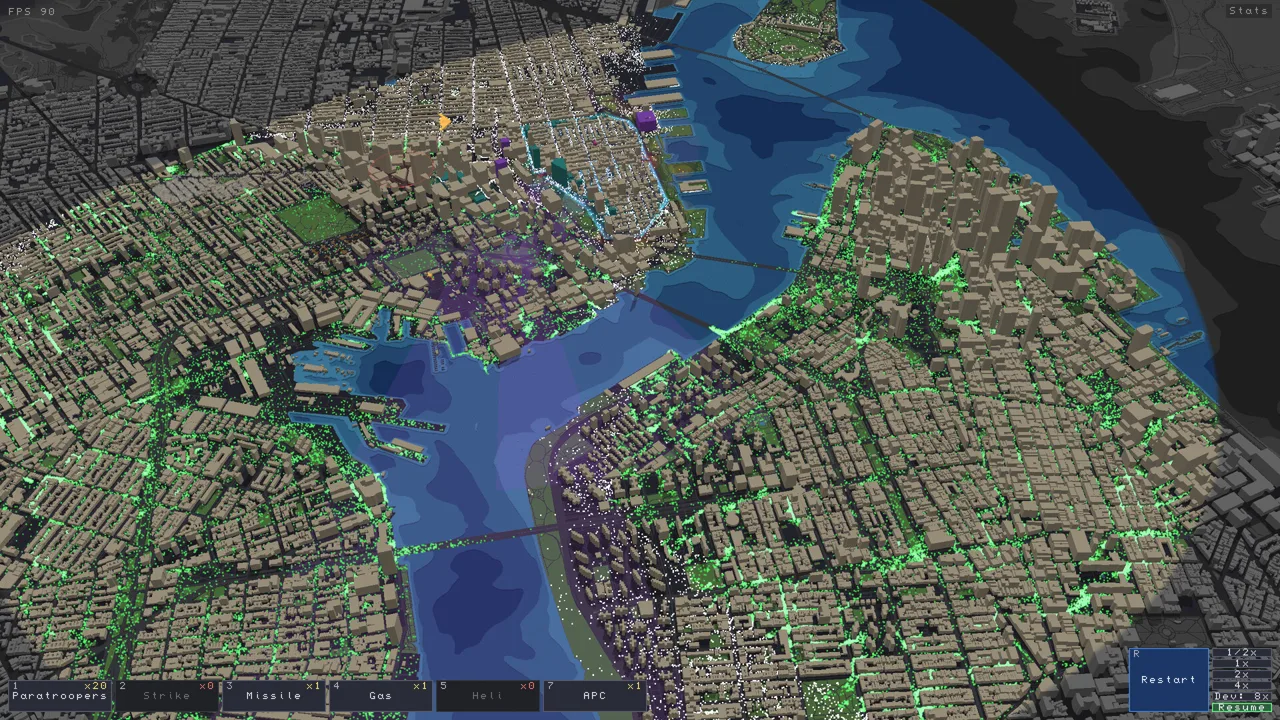 Image: Steam / Jogamedev
Wall Off the Bridges, Then Back the Walls With Troops
Zombies hit walls without much urgency. Most of them keep chasing civilians instead. Walling every bridge except one funnels the horde into a single crossing you can actually defend.
Paratroopers dropped right next to a wall tend to wander off. Garrisons placed beside the bridge walls work like paratroopers that can't run away. Fill the gaps between those garrisons with paratroopers, and the crossing turns into a narrow, bridge-sized fight.
Always Add Gates
Forgetting gates is the classic Miami blunder. Without them, civilians can't get into your safe zone and won't respond to a Broadcast. Your own militia also gets stuck inside, pacing back and forth instead of joining the fight.
Check every safe zone for gates before you hit READY. Restarting to fix a missing gate can reshuffle the outbreak spawns, so getting it right the first time matters.
The Double Police Station Militia Combo
Put a safe zone around two police stations, set one building to Broadcast, and set the other to Militia. Broadcast pulls civilians in. When the zone gets overrun, the militia "pops" and floods the street with armed fighters.
Treat these zones like human land mines:
- Skip heavy defenses there. Don't stack garrisons and turrets in a militia zone. You actually want it to fall so more troops hit the field.
- Place them where the horde will arrive. They blunt a surge exactly where it lands.
- Expect big numbers. On a strong level 5 run, the militia alone can rack up around 63,000 kills.
Remember that civilians converted into militia no longer count as saved. You're trading score for firepower.
Drop Paratroopers on Alleys and Intersections
Don't drop paratroopers straight into the middle of a horde. They rush in, the zombies snake around them through side streets, and the outbreak escapes. Instead:
- Ring the outbreak by dropping small groups on every alley and cross-street around it.
- As those groups converge, drop a second round to re-block the chokepoints.
- Hold a reserve back. On level 5, keep around 50 paratroopers. Late-game zombies love to slip around the edges of your lines.
Once paratroopers land, you can't redirect them. Placement is everything.
Level-by-Level Miami Strategy
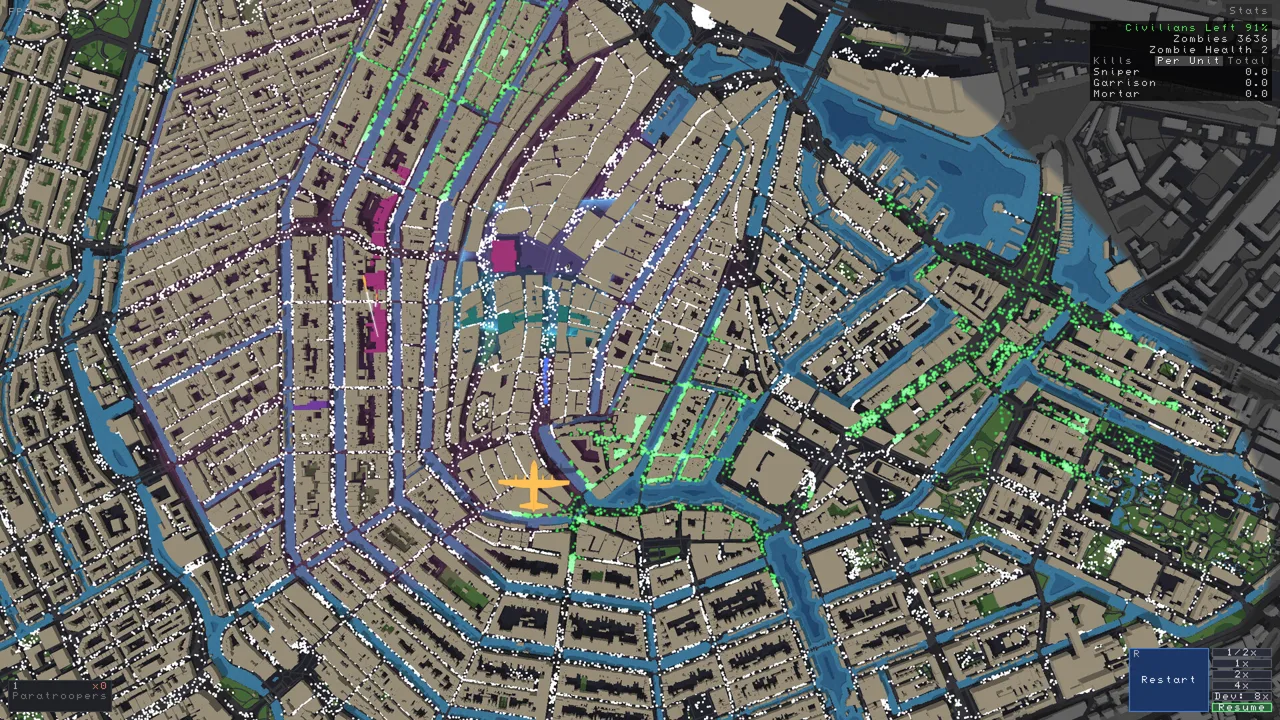 Image: Steam / Jogamedev
| Level | What You're Dealing With | Setup Used | Typical Result |
|---|---|---|---|
| 1 | Downtown, a couple of bridges | Two safe zones near the bridges, walls blocking both crossings, garrisons, paratroopers | Around 37% even with spawns on both sides |
| 2 | Bigger downtown, dense population on one side | Three safe zones, walled bridges, militia combo, paratroopers behind walls | Close to 90% |
| 3 | Map opens into peninsulas and islands | Four safe zones, garrisons on bridges, helicopters, militia combos | 55% with a Ruby badge |
| 4 | Much wider map | Extra militia combo, helicopters, APC on a bridge, spread across north and south | Around 20% when you overextend |
| 5 | Full city sprawl | Defend one region only, mortars downtown, fire bombs, four helicopters | Around 30% |
Level 1: Downtown and the Twin Bridges
Build two safe zones near the bridges so their walls block both crossings and force zombies through one approach. Garrison the buildings along the edges and spend your loadout on paratroopers.
A double-sided spawn here is brutal. Ignore the badge and just clear it. Drop paratroopers immediately on both fronts, then speed up the game once the top side is clear.
Level 2: The Walls-Plus-Paratroopers Breakthrough
This is where Miami clicks. Set up three safe zones, and put turrets and garrisons around the dense population center where you expect a spawn. Add the police-station militia combo and wall off every bridge but one.
When the spawns land, drop most of your paratroopers right away. Keep about 40 in reserve for the open bridge.
The Rally ability makes guns in a circle fire 50% faster. It's a nice extra on this level, but you can drop it later if you'd rather have more troops. A clean run here can save nearly everyone without the militia ever popping.
Level 3: Islands and Peninsulas
Keep your three earlier safe zones and add a fourth to seal off an island. If an island spawns zombies, write it off and stop them from coming across the bridges. Don't try to clear it head-on.
If your first attempt leaks across a bridge, restart. Swap the turrets in quiet areas for more garrisons along the bridges.
Time your paratroopers carefully. Wait until the zombies have overrun an area and committed to a bridge, then drop troops on the crossing to catch them in a funnel.
Call helicopters in early. Waiting too long lets big hordes sneak around your lines. When two militia zones fall near the same bridge, both groups push across with chopper cover and can clean up whole islands.
Level 4: Don't Try to Save Everything
Level 4 is the trap. Adding another militia combo and spreading paratroopers, helicopters and an APC to save both the north and the south ends in disaster.
Three things go wrong. Swimmers mutate and bypass the bridges. Militia trapped behind gateless walls never join the fight. And paratroopers chase zombies far from where you need them, with no reserve left to plug the gap. A run like that limps through at about 20% with one safe zone standing.
The lesson: pick the area you're saving, and keep reserves for the edges.
Level 5: Write Off Downtown and Hold the Line
Commit to one region. Here's the full setup:
- Broadcast stations with turrets around them to pull civilians inside. Indoors, fewer people get bitten and turned.
- Walled bridges with mines on every crossing except one.
- Extra safe zones behind the walls to fight off trickles.
- Two or three more militia combos spread through the defended area.
- Mortars across downtown, which you're abandoning anyway, to shred hordes as they stream toward the bridges.
- Loadout: four helicopters, two fire bombs, and the rest paratroopers. Drop the APC.
Launch the helicopters right away so they start thinning the hordes. Then save your fire bombs for the moment a huge mass turns and funnels through one spot. Two well-timed fire bombs on crowded approaches can account for around 15,000 kills. Finish by letting your troops hunt down the stragglers.
Air Support and Loadout Tips for Miami
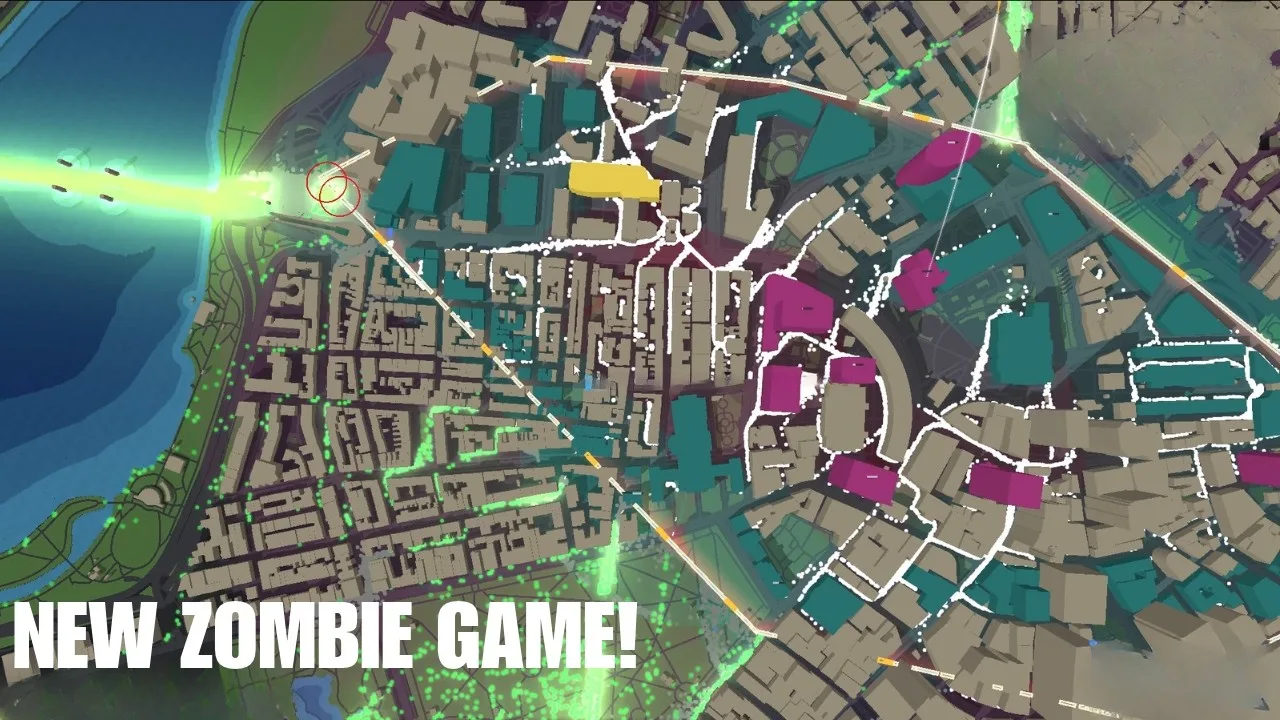
- Paratroopers are your backbone on every level. They come with orders like Guard and Seek and Destroy, so pick the one that fits each drop.
- Helicopters handle bridge defense and thin out big hordes. They run out of ammo and leave, though, so don't build a whole plan around one chopper.
- Fire bombs are strongest on bridges and narrow streets, where zombies have to run through the flames.
- Mortars pay off on level 5 when you're writing off a district and just need area damage on the approaches.
- Watch for swimmers. Once zombies mutate into swimmers, walled bridges stop being a complete seal. Keep a reserve near the water you can't afford to lose.
What Update #1 (v0.43.1) Changed for Miami
Update #1 landed on November 16, 2026, and several of its changes hit this water-heavy map directly:
- Mortars, helicopters, mines, burning oil and the battleship no longer kill civilians or damage safe zone walls. That makes downtown mortar lines on level 5 much safer. Attacks you aim yourself, like the fire bomb and airstrike, still do.
- If zombies are stranded because their bridges were destroyed, they no longer block victory. The game ends in a win after 60 seconds.
- A toppled building now damages any bridge it falls onto. If the bridge breaks, everyone on it drowns.
- Panicked civilians head for safe zone gates from farther away, and calm civilians near a gate walk in on their own.
- Call to Arms now costs 1 skill point per level, down from 2.
- Evac corridors are priced by area: a $30 start fee plus the ground they cover. At the default width, a 300 m corridor drops from $120 to about $60.
Civilians can still struggle to path over some bridges. If people won't cross to a safe zone on another landmass, try moving the gate so it sits on the side facing the land rather than the bridge end.
FAQ
Do I Need a High Badge on Each Miami Level to Continue?
No. You can clear a level and move on without earning its top badge. A 20–30% pass on levels 4 and 5 still pushes you through the campaign.
Does Restarting a Miami Level Keep the Same Zombie Spawns?
Not always. Changing your setup and restarting can shift where the outbreaks appear. Also note that since Update #1, using RETRY rules out the Flawless achievement for that campaign.
Can I Play the Miami Campaign in Co-op?
Zombies Aren't Real supports online co-op with one friend. Each player can only place gates in their own walls, while a shared wall accepts a gate from either player.
Continue with
 Zombies Aren't Real San Francisco: Safe Zone Strategy GuideBeat the Zombies Aren't Real San Francisco map with tiny safe zones, broadcast towers, sniper walls, and fire bombs. Learn the setups that save civilians.
More in Maps
Zombies Aren't Real Austin Map: How to Defend the City
Defend Texas in the Zombies Aren't Real Austin Workshop map. Learn safe zone placement, sniper towers, bridge air strikes and how to survive later levels.
Zombies Aren't Real Berlin Guide: Safe Zones, Nukes & Traps
Survive Zombies Aren't Real Berlin with safe zone layouts, militia traps, nuke and battleship timing, and the v0.43.1 changes that matter most on this map.
Zombies Aren't Real Boston Guide: Beat All 5 Levels
Clear the Zombies Aren't Real Boston campaign with level-by-level safe zone setups, bridge choke points, paratrooper drops and the big Update #1 changes.
Zombies Aren't Real Chicago Map Guide: Save More Civilians
Defend the Zombies Aren't Real Chicago campaign with smarter safe zones, gates, bridge control and the Update #1 changes. Learn how to save more civilians.
Continue exploring
Zombies Aren't Real London: Map Guide and Defense Tips
Defend the Zombies Aren't Real London map with smarter safe zones, gates, howitzers, and air support. Discover what works across all six levels and why.
Zombies Aren't Real Beginner Tips: Win Your First Cities
Zombies Aren't Real beginner tips for safe zones, broadcast towers, snipers, mortars and airstrikes. Learn setups that save more civilians in each city.
Join the community
Official channels for news, updates and player help: