
Early access · Release date: November 13, 2026
UpdatedZombies Aren't Real Austin Map: How to Defend the City
Defend Texas in the Zombies Aren't Real Austin Workshop map. Learn safe zone placement, sniper towers, bridge air strikes and how to survive later levels.
Jump to
Downtown Austin looks easy to hold on the first stage, then the map grows fast and the river turns every bridge into a highway for the horde. This guide walks through the Zombies Aren't Real Austin map level by level. It covers where to put your safe zones, which towers to fill with snipers and mortars, and how to use air strikes on bridges so you can push past the mid-game wall. If you've already lost the waterfront twice, the bait-zone setup in the level 4 section is what you need.
Getting the Austin Map Running
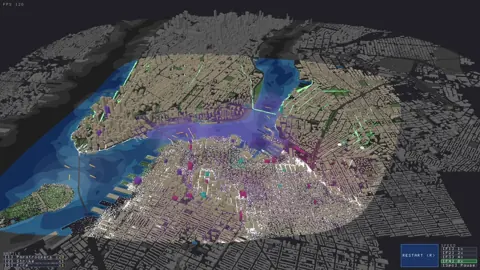
Austin is a community map, not part of the base campaign. Subscribe to it through the Steam Workshop and it shows up in your custom map list. The scenario runs six levels, and each one expands the playable area, adds new spawns, and hands you more cash and skill points.
A few things worth knowing before you load in:
- Co-op works even if your partner doesn't own the map. Since Update #1 (v0.43.1, November 16, 2026), Workshop maps download through Steam for the guest automatically.
- Hardcore and Ultra Hardcore are open from the start on Workshop and custom maps, and both modes have their own leaderboards.
- You can build your own version. The map editor lets you search a zip code or city, center it on two cross streets, and upload straight to the Workshop. The newer Map Colors presets cover options like asphalt, adobe, or brick if you want the Austin look.
Grab Zombies Aren't Real on Steam if you haven't yet. It's in Early Access on Windows, and a Mac beta is available under the test-mac-version branch in Game Versions & Betas.
Level 1: Build Around the Capitol
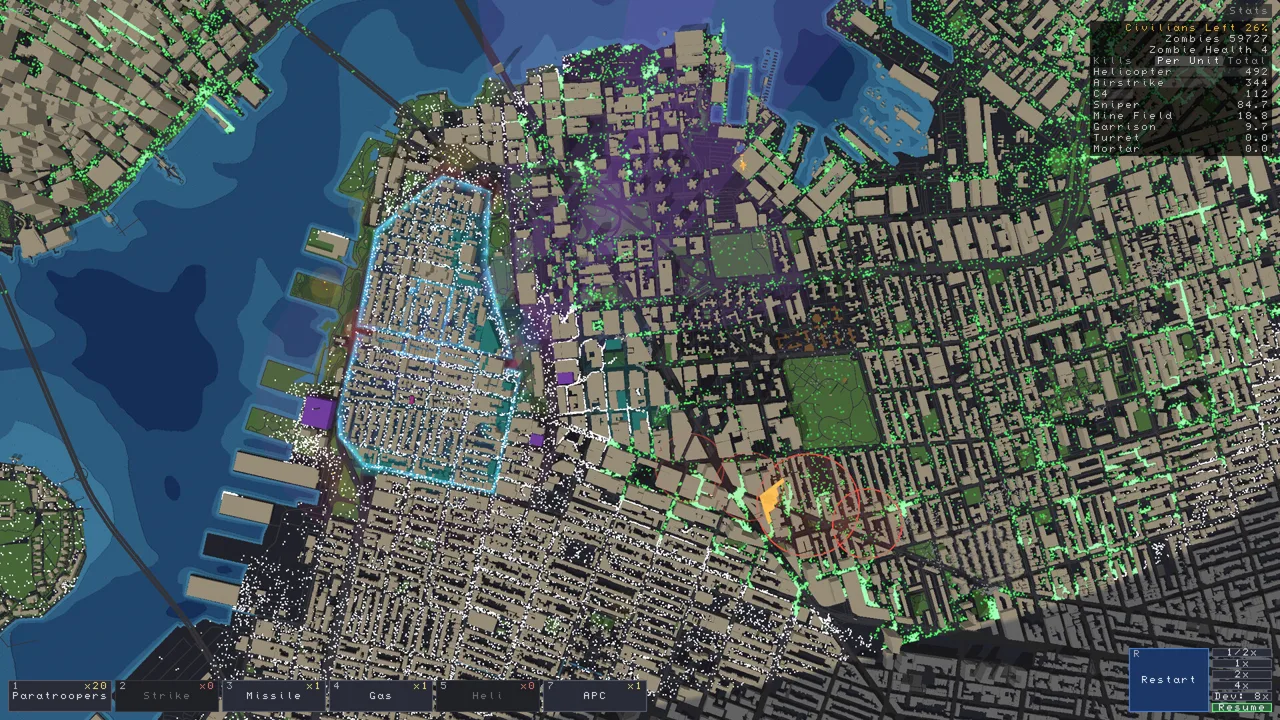
Build your first safe zone around the Congress building and save the tall towers behind it for your ranged units.
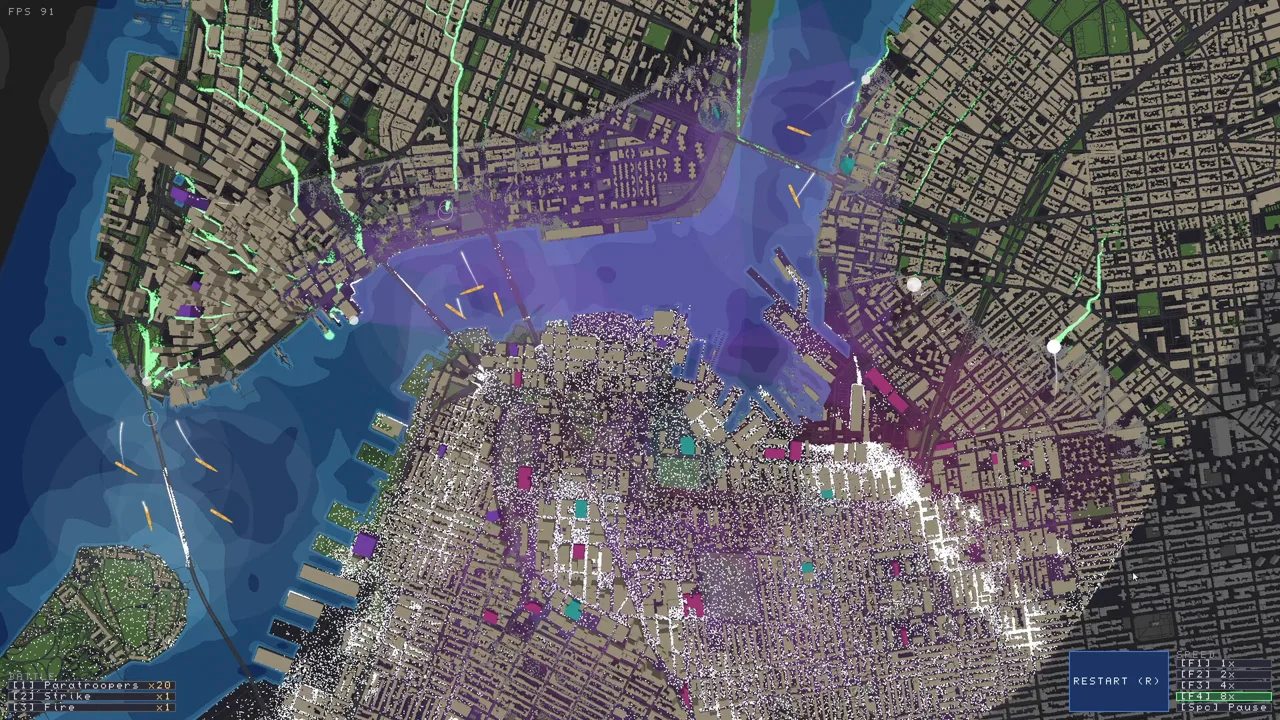 Image: Steam / Jogamedev
- Hug the buildings with your walls. Keep the safe zone perimeter tight against the surrounding structures so garrisoned buildings can fire over the wall.
- Turn the special building into a police station and set the officers to pursue instead of guard. The garrisons hold the walls while the police push out and clear the middle.
- Use paint mode to garrison. Dragging across a block is much faster than clicking each building.
- Put a mortar in the tallest building you can afford, then spend leftover change on a minefield in a corner approach.
- Garrison both sides of any gap. If two garrisons can't cover the space between them, zombies walk straight through it.
Watch the first spawn at 1x speed to see how the infection spreads, then speed up once the police start pushing.
Level 2: Cover the Residential Waterfront
You start level 2 with 5,000 in cash, and the new area includes a dense residential district by the water. That district is full of civilians, so if you leave it open, the outbreak will spread from there.
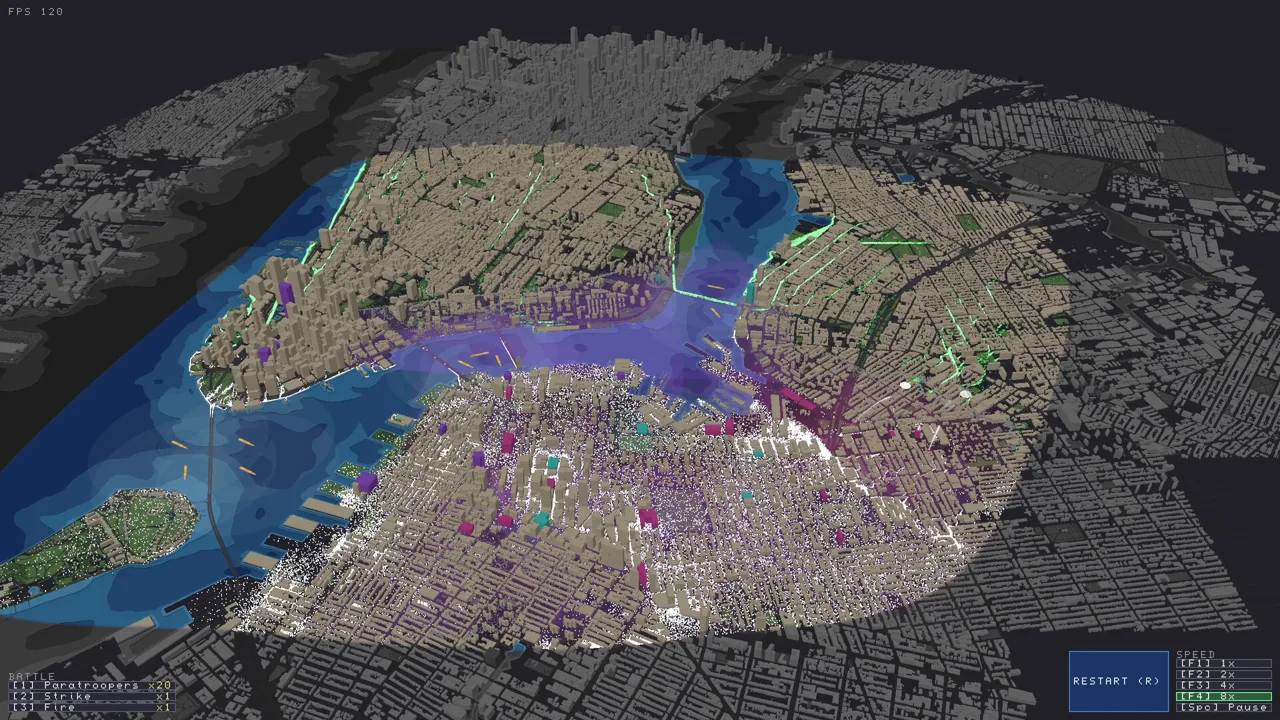 Image: Steam / Jogamedev
- Drop a second safe zone along the water. It costs 1,000.
- Make its special building a Command Post. Guns in range fire 25% faster, which means you need fewer garrisons on that side.
- Add gates next to your most heavily garrisoned walls. Civilians can't get in without a gate, so put the gate where your firepower is strongest.
- Put snipers in the tallest buildings. The taller the building, the longer the range. Set up two towers so their fire crosses over the main approach.
- Bring helicopters. Two gunship helicopters and a set of paratroopers can save this stage. Call the choppers in right away when the first wave hits hard, and drop paratroopers on any group your police can't handle.
Clearing this stage unlocks Seek and Destroy, which turns a garrison into hunting police.
Level 3: Bridges Change Everything
At level 3 you have about 10 skill points and 6,000 in cash, and bridges across the water start to matter.
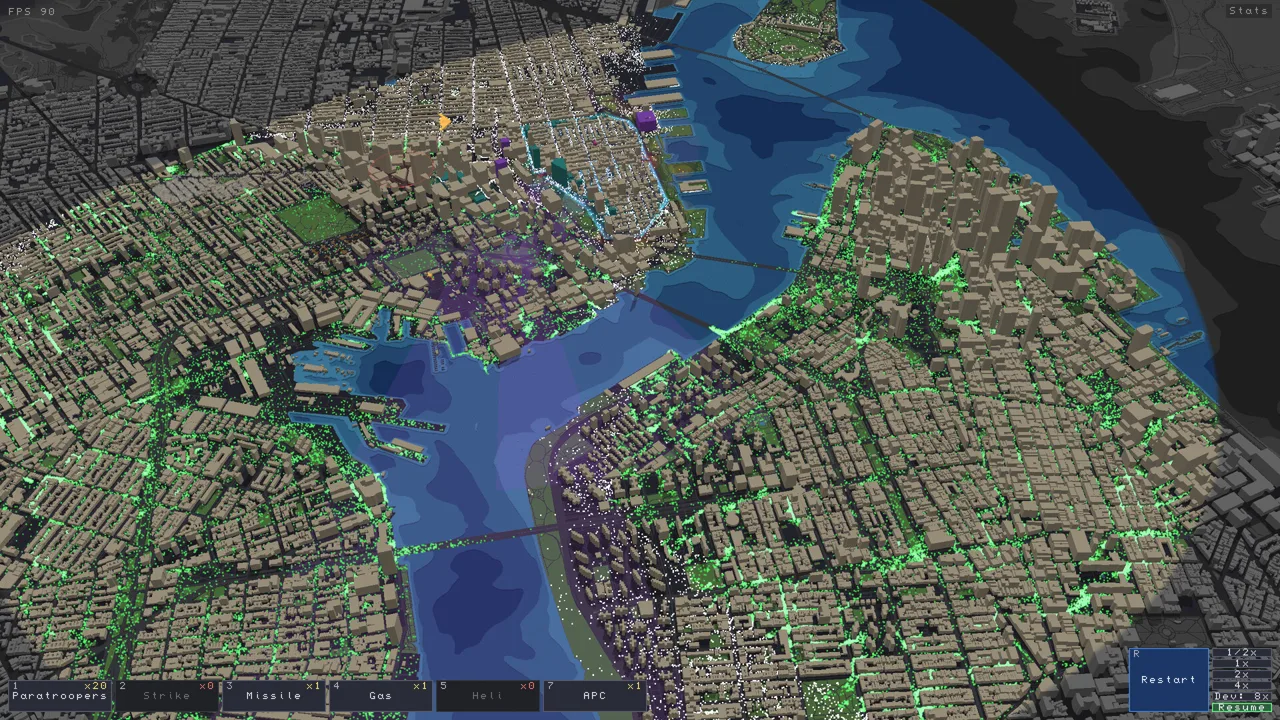 Image: Steam / Jogamedev
- Spend skill points on three air strikes, an APC, and another set of paratroopers. Use the air strikes to destroy bridges and cut off whole sections of the map. If a spawn lands across the river and every bridge is down, those zombies can't reach you unless they swim.
- Build a third safe zone in the next residential block, with walls tight to the buildings and a gate.
- Don't spend down to pocket change. Spending almost everything on a new zone leaves it thinly defended. Hold enough back for at least one mortar and a couple of snipers to cover it.
- Air strike the bridges the moment the ability is ready. Split your paratroopers between your two weakest zones, send the APC to the side with the heaviest spawn, and use the helicopters wherever a wall is about to fall.
If your newest zone breaks on the first try, retry with more garrisons on that side and less spending elsewhere.
Level 4: Bait Zone and Waterfront Fortress
Level 4 is a big step up from the earlier stages, and the layout that holds is a sacrificial bait zone.
- Keep one small safe zone as bait. It draws the horde in and slows them down. Don't pour extra money into it.
- Turn the waterfront quadrant into your main fortress. It has several special buildings. Set them to Repair to keep the walls standing longer.
- Spend most of your budget on the main zone: garrisons, mortar coverage, and battleships on the water.
- Destroy every bridge into the fortress with air strikes. If you miss even one, the defense falls apart.
- When a garrisoned area is taking a pounding, refund those garrisons and move the money into mortars and garrisons on the side that's actually being attacked. Mortars run out of ammo during long fights, so place enough to cover the gaps.
- Put a sniper on the main bridge, and add gates on the sides where civilians are coming in.
- Open with the air strikes on the bridges, then drop paratroopers, send the APC, and bring every helicopter to the bait zone. Clearing the bait area quickly frees your forces before the fortress gets overwhelmed.
How Update #1 (v0.43.1) Changes the Austin Map
The November 16 patch makes this river map much more manageable:
- Landlocked zombies no longer block victory. If blown bridges leave zombies unable to reach a safe zone, the battle ends in victory after 60 seconds.
- Mortars, battleships, tanks, helicopters, and mines no longer kill civilians or damage safe zone walls. Use your heavy fire freely near your own perimeter.
- Aimed attacks still cause damage. Airstrikes, fire bombs, cluster bombs, C4, and other abilities you aim yourself can still kill civilians and break walls, so aim your bridge strikes away from crowds.
- Toppled buildings now damage bridges. If a bridge breaks, it collapses and everyone on it drowns.
- Civilians head for safe zone gates more readily, and evac corridors guide them through the streets and through a gate at the end.
- Evac corridors are cheaper: $30 plus a price based on area, so a 300 m corridor costs about $60.
Civilians still have trouble crossing bridges. If a safe zone sits across the water from the population, put the gate on the landmass side, and make sure no bridge pylons are blocking the path.
FAQ
How many levels does the Austin map have?
Six. Each level expands the city and gives you more money and skill points.
Can I play the Austin map in co-op?
Yes. Online co-op supports one partner, and since v0.43.1 your friend doesn't need to subscribe to the map first. It downloads through Steam when they join.
What decides my score?
Clearing every zombie wins the stage, and your score is based on how many civilians you saved. Save enough of them and you reach the gold badge.
Continue with
 Zombies Aren't Real Berlin Guide: Safe Zones, Nukes & TrapsSurvive Zombies Aren't Real Berlin with safe zone layouts, militia traps, nuke and battleship timing, and the v0.43.1 changes that matter most on this map.
More in Maps
Zombies Aren't Real Boston Guide: Beat All 5 Levels
Clear the Zombies Aren't Real Boston campaign with level-by-level safe zone setups, bridge choke points, paratrooper drops and the big Update #1 changes.
Zombies Aren't Real Chicago Map Guide: Save More Civilians
Defend the Zombies Aren't Real Chicago campaign with smarter safe zones, gates, bridge control and the Update #1 changes. Learn how to save more civilians.
Zombies Aren't Real Detroit Guide: Bridges and Broadcasts
Beat the Zombies Aren't Real Detroit campaign with safe zone layouts, Broadcast funnels, militia traps, and bridge airstrikes to hold every river crossing.
Zombies Aren't Real London: Map Guide and Defense Tips
Defend the Zombies Aren't Real London map with smarter safe zones, gates, howitzers, and air support. Discover what works across all six levels and why.
Continue exploring
Zombies Aren't Real Miami Guide: How to Beat All 5 Levels
Beat all five levels of Zombies Aren't Real Miami with wall-and-paratrooper chokepoints, the police-station militia combo, and bridge defense tactics.
Zombies Aren't Real Steam Guide: Price, Specs, Mac & Co-Op
Zombies Aren't Real on Steam: price, PC specs, Mac beta, co-op, Workshop maps and what Update #1 changed. Learn it all before you defend your first city.
Join the community
Official channels for news, updates and player help: